ちょっと複雑なレイアウトをConstraintLayoutで組んでみるpart2
Created at Thu, Apr 30, 2020今回の記事では次の4つのレイアウトを、ConstraintLayoutで組みたいと思います。
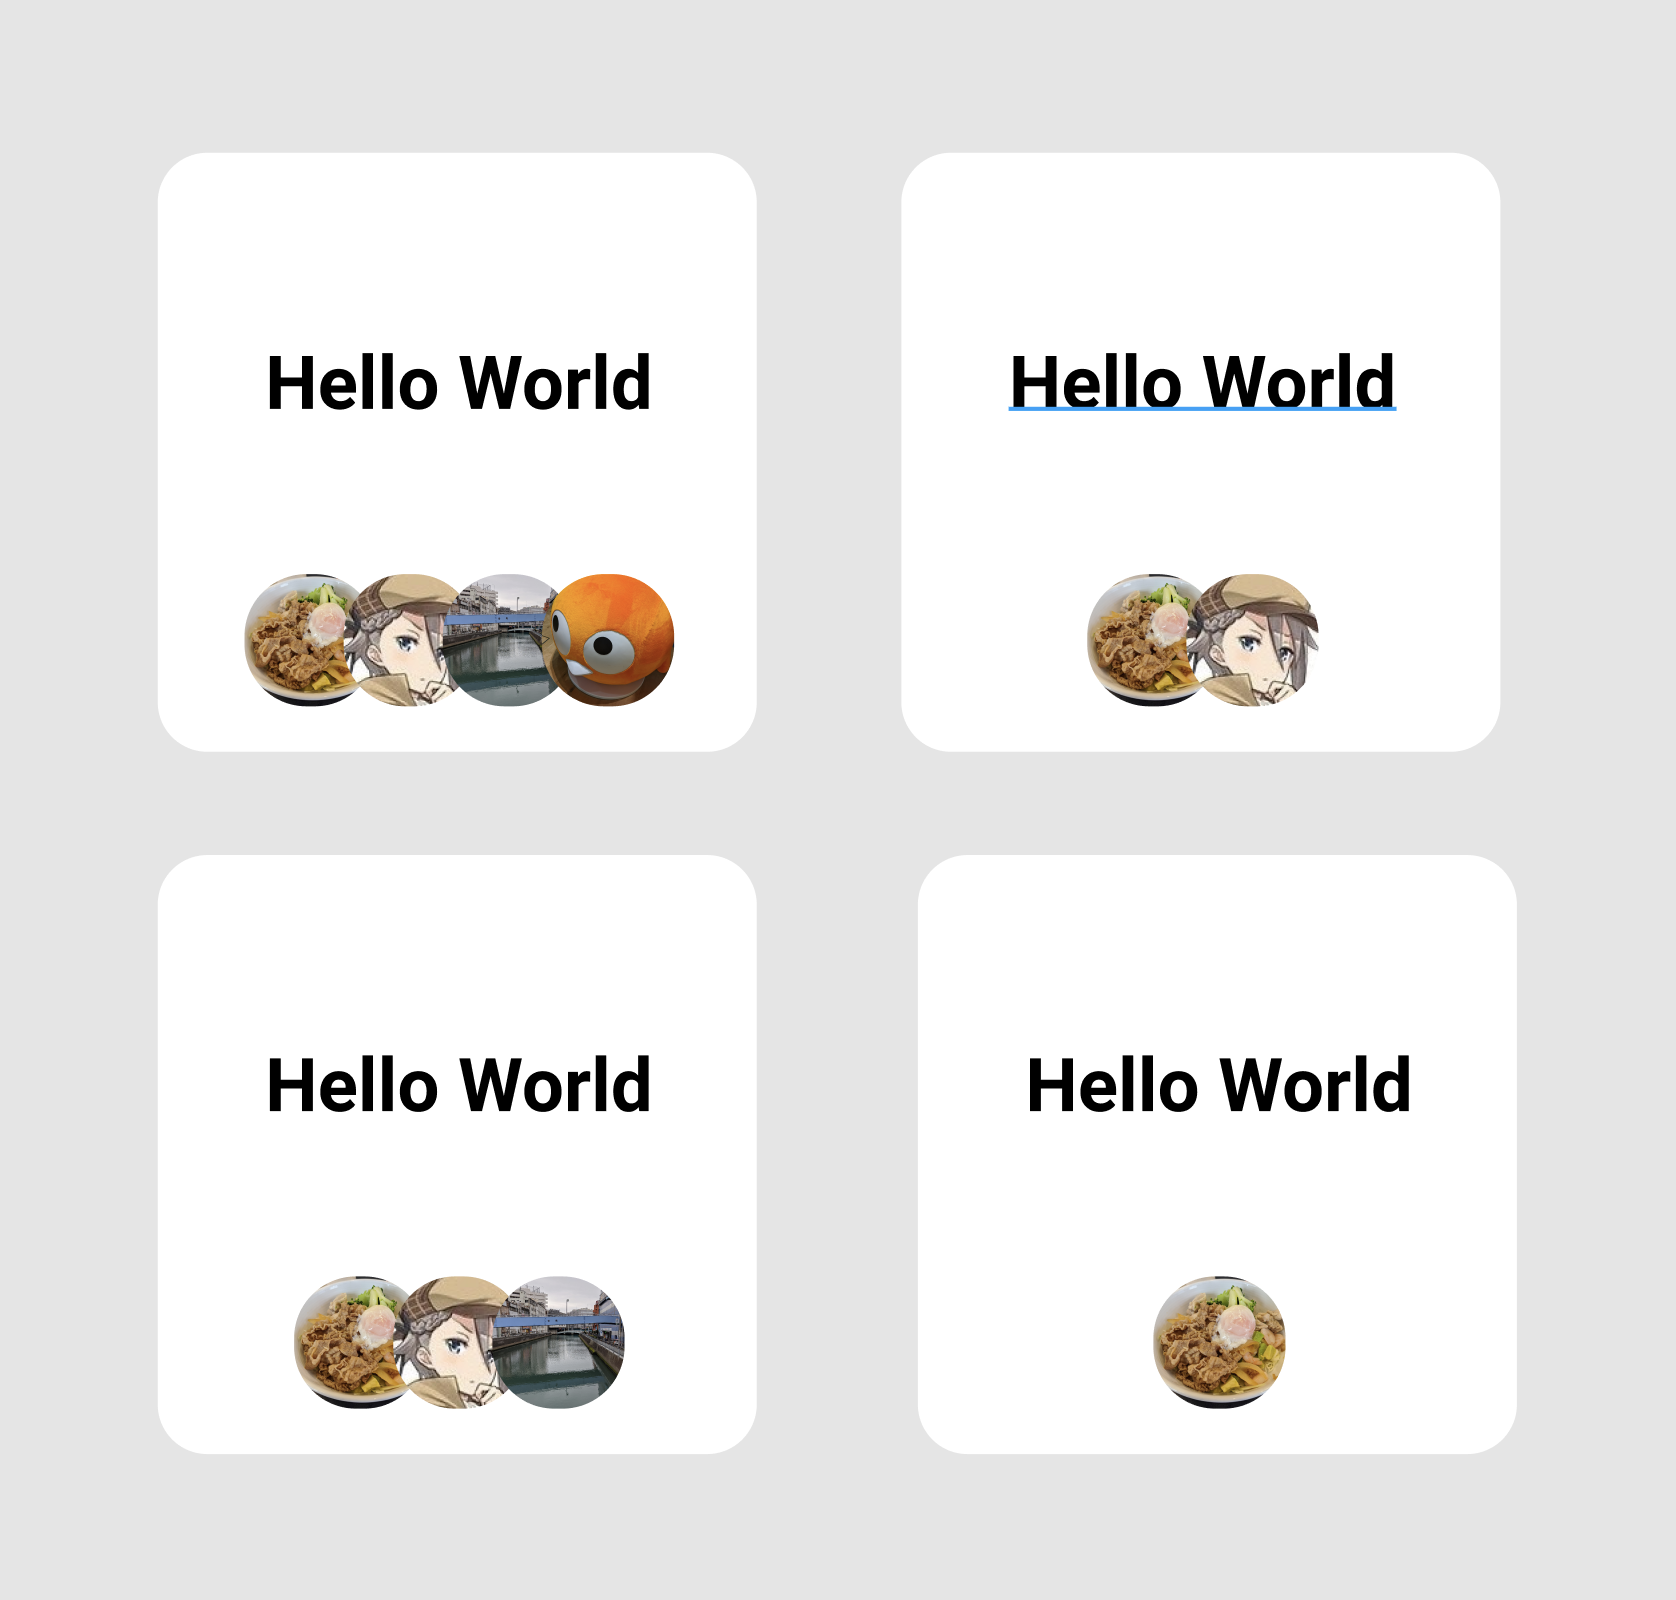
ポイントは以下の2つです。
- 各画像は、前の画像に被っている
- 各レイアウトは、4 or 3 or 2 or 1枚、いずれかの枚数を取る
上記で上げたポイントを中心に説明していきます。
各画像は、前の画像に被っている
View同士を被せる方法はいくつかあると思うんですが、今回はlayout_constraintStart_toStartOfとlayout_marginStartを使い表現します。
まずに、1番左に配置するImageViewを定義します。
<com.google.android.material.imageview.ShapeableImageView
  android:id="@+id/image1"
  android:layout_width="32dp"
  android:layout_height="32dp"
  android:layout_marginStart="20dp"
  android:layout_marginBottom="12dp"
  app:layout_constraintBottom_toBottomOf="parent"
  app:layout_constraintStart_toStartOf="parent" />
1番左に配置したいので、Start_toStartOfにはparentを設定しています。
次に、2番目に配置するImageViewを考えます。このImageViewは、1枚目のImageViewに被るように配置します。なので、この1枚目のViewのend(終端)に制約を合わせてしまうと上手く配置できません。 よって、1枚目のViewのstart(先端)に制約を合わせます。合わせてmarginStartも設定することで良い感じの配置が出来ます。
<com.google.android.material.imageview.ShapeableImageView
  android:id="@+id/image2"
  android:layout_width="32dp"
  android:layout_height="32dp"
  android:layout_marginStart="24dp"
  android:layout_marginBottom="12dp"
  app:layout_constraintBottom_toBottomOf="parent"
  app:layout_constraintStart_toStartOf="@id/image1" />
3番目、4番目のViewにも同様の制約を設定してあげます。最終形は次のようになります。
<com.google.android.material.imageview.ShapeableImageView
  android:id="@+id/image1"
  android:layout_width="32dp"
  android:layout_height="32dp"
  android:layout_marginStart="20dp"
  android:layout_marginBottom="12dp"
  app:layout_constraintBottom_toBottomOf="parent"
  app:layout_constraintStart_toStartOf="parent" />

<com.google.android.material.imageview.ShapeableImageView
  android:id="@+id/image2"
  android:layout_width="32dp"
  android:layout_height="32dp"
  android:layout_marginStart="24dp"
  android:layout_marginBottom="12dp"
  app:layout_constraintBottom_toBottomOf="parent"
  app:layout_constraintStart_toStartOf="@id/image1" />

<com.google.android.material.imageview.ShapeableImageView
  android:id="@+id/image3"
  android:layout_width="32dp"
  android:layout_height="32dp"
  android:layout_marginStart="24dp"
  android:layout_marginBottom="12dp"
  app:layout_constraintBottom_toBottomOf="parent"
  app:layout_constraintStart_toStartOf="@id/image2" />

<com.google.android.material.imageview.ShapeableImageView
  android:id="@+id/image4"
  android:layout_width="32dp"
  android:layout_height="32dp"
  android:layout_marginStart="24dp"
  android:layout_marginBottom="12dp"
  app:layout_constraintBottom_toBottomOf="parent"
  app:layout_constraintStart_toStartOf="@id/image3" />
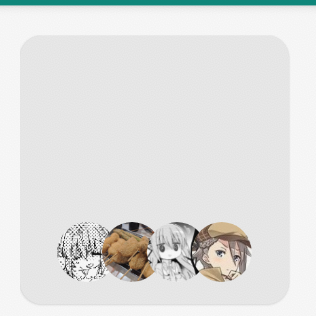
1枚目、2枚目、3枚目、4枚目がそれぞれ少しずつ被っているのが分かると思います。
これで4枚の画像のパターンは完成しました。次に3、2、1枚のパターンも作っていきます。
各画像は、4、3、2、1枚のいずれかの枚数を取る
画像の枚数が変動するパターンを考えてみます。4つのレイアウトをそれぞれ個別に作ってもいいんですが、今回は1つのレイアウトで表現しようと思います。
今回の場合、layout_goneMarginStartを使うといい感じに出来ます。
前のレイアウトに対して、次のようにlayout_goneMarginStartを追加してあげます。
<com.google.android.material.imageview.ShapeableImageView
  android:id="@+id/image1"
  android:layout_width="32dp"
  android:layout_height="32dp"
  android:layout_marginStart="20dp"
  android:layout_marginBottom="12dp"
  app:layout_constraintBottom_toBottomOf="parent"
  app:layout_constraintStart_toStartOf="parent" />

<com.google.android.material.imageview.ShapeableImageView
  android:id="@+id/image2"
  android:layout_width="32dp"
  android:layout_height="32dp"
  android:layout_marginStart="24dp"
  android:layout_marginBottom="12dp"
  app:layout_constraintBottom_toBottomOf="parent"
  app:layout_constraintStart_toStartOf="@id/image1"
  app:layout_goneMarginStart="32dp" />

<com.google.android.material.imageview.ShapeableImageView
  android:id="@+id/image3"
  android:layout_width="32dp"
  android:layout_height="32dp"
  android:layout_marginStart="24dp"
  android:layout_marginBottom="12dp"
  app:layout_constraintBottom_toBottomOf="parent"
  app:layout_constraintStart_toStartOf="@id/image2"
  app:layout_goneMarginStart="44dp" />

<com.google.android.material.imageview.ShapeableImageView
  android:id="@+id/image4"
  android:layout_width="32dp"
  android:layout_height="32dp"
  android:layout_marginStart="24dp"
  android:layout_marginBottom="12dp"
  app:layout_constraintBottom_toBottomOf="parent"
  app:layout_constraintStart_toStartOf="@id/image3"
  app:layout_goneMarginStart="56dp" />
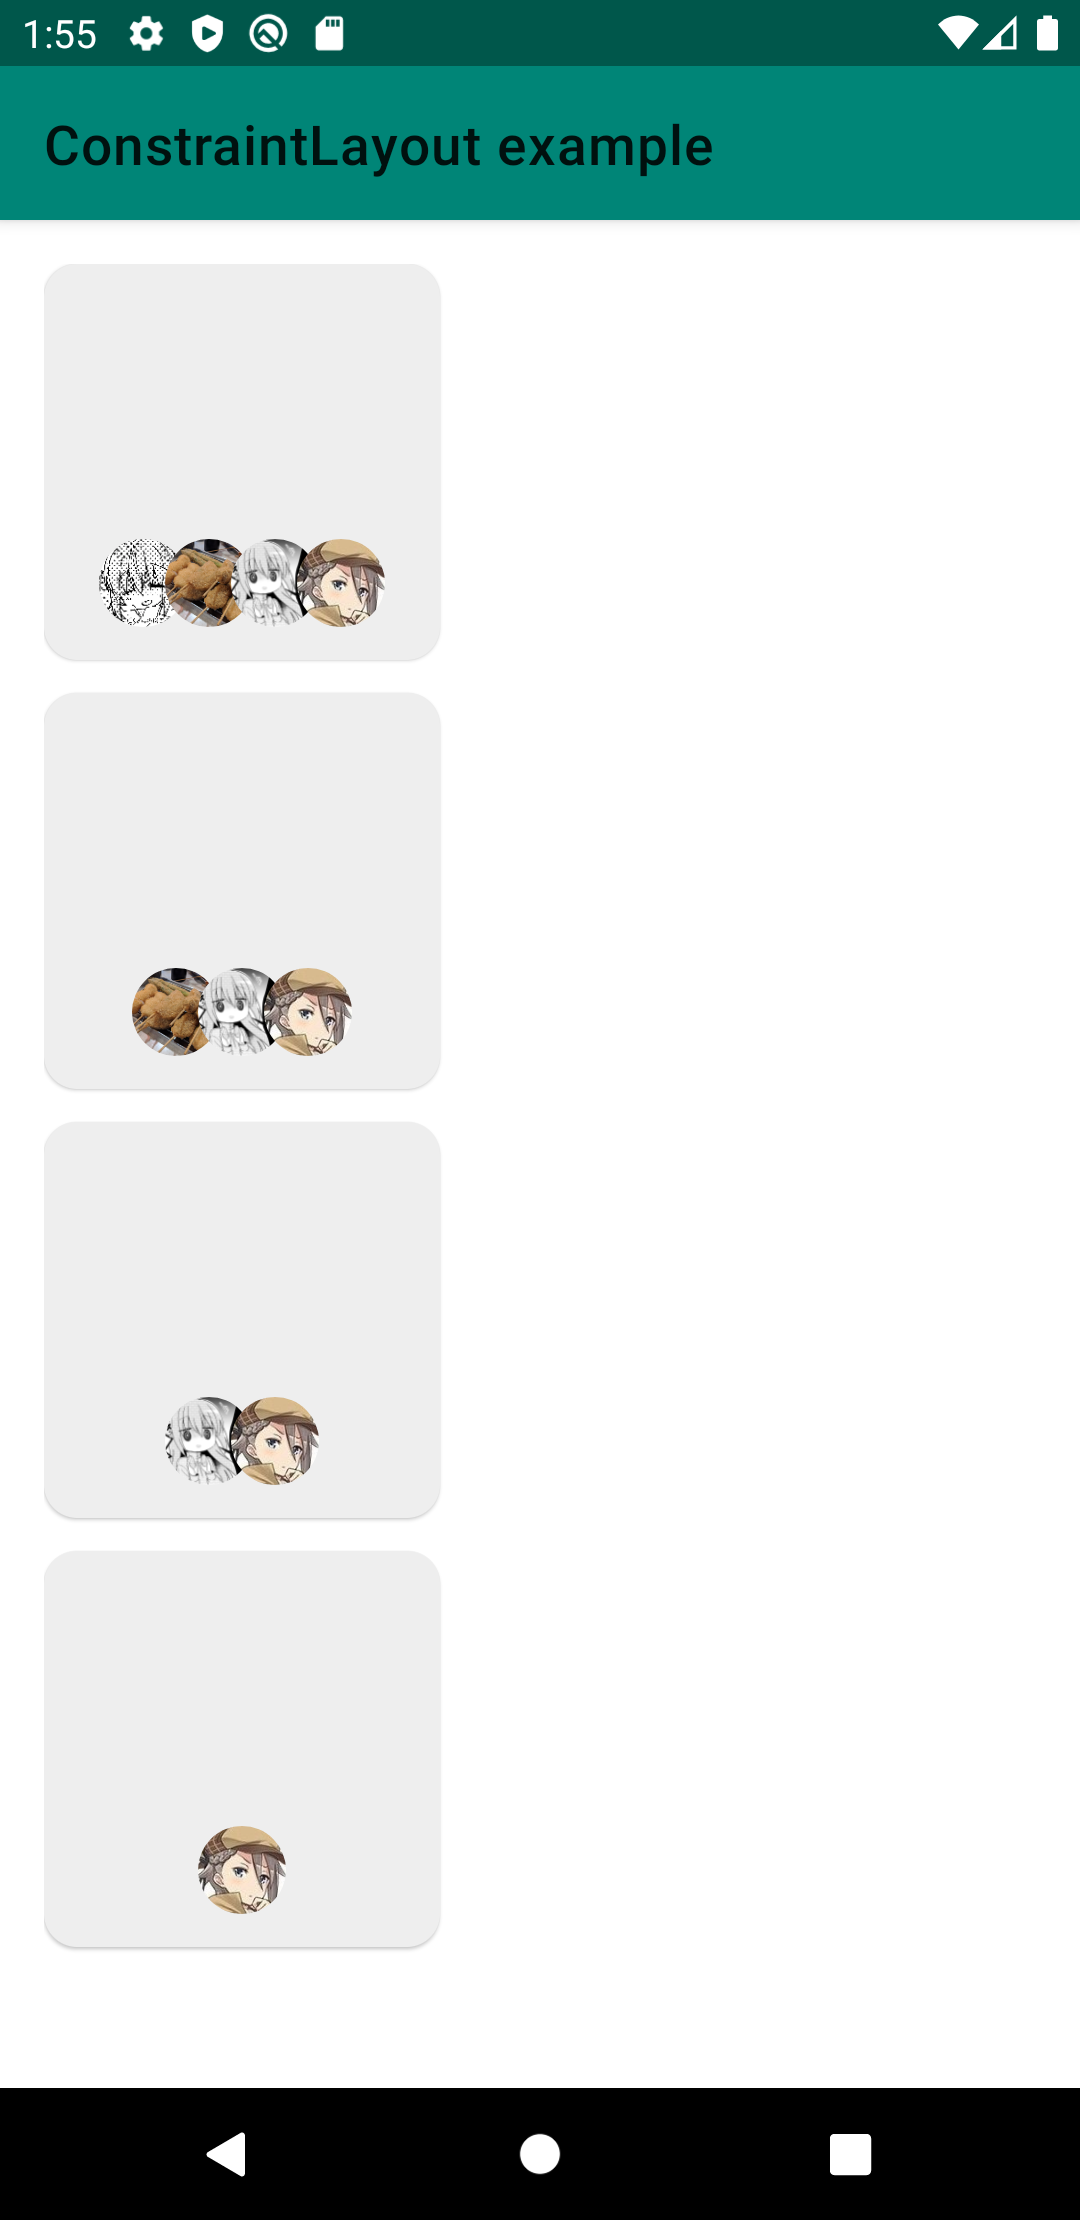
画像がない状態をlayout_goneMarginStartで表現しているのがポイントです。「1番左の画像がなかったら、2番目の画像のmarginStartを調整」、「2番目の画像がなかったら、3番目の画像のmarginStartを調整」といった具合です。
これで、欲しかったレイアウトを手にすることが出来ました。
まとめ
- View同士が被る場合には、制約に工夫が必要
- goneMarginを使うことで、制約対象のViewが存在しない場合の位置を調整できる
フルコードはGitHubにあります。